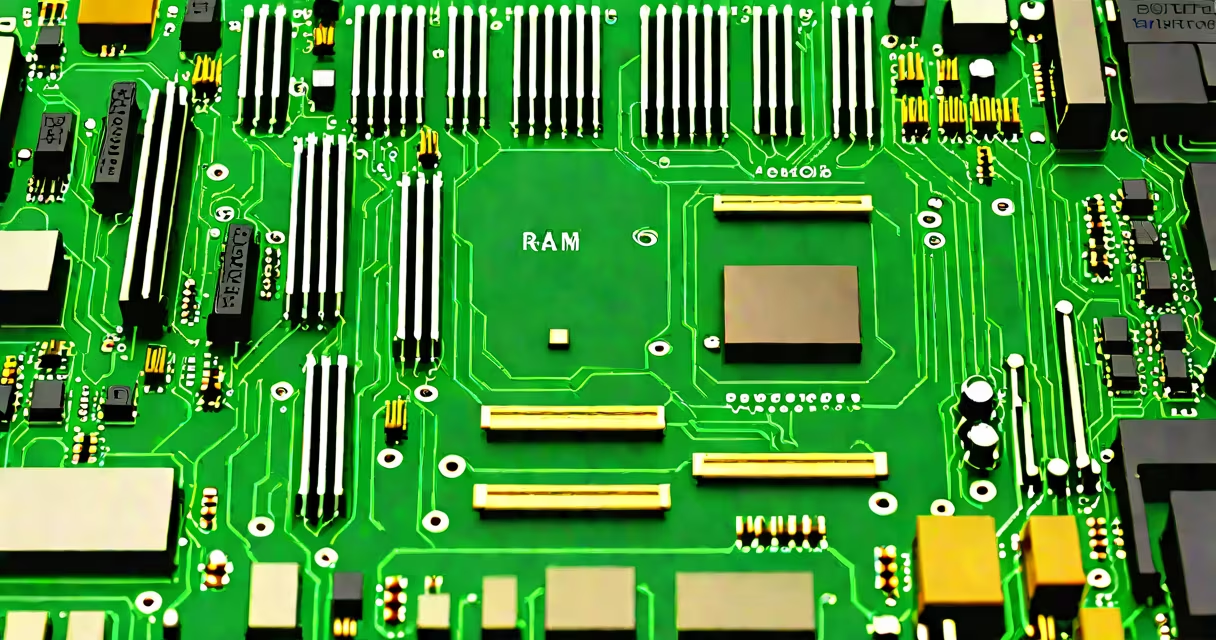
Adding new RAM to existing RAM means installing additional memory modules into your computer's motherboard alongside already installed ones. This expands your system's total memory capacity, improving multitasking and application performance.
Most modern desktops and laptops support adding RAM upgrades. You don't need to replace all existing memory to increase capacity. The key is matching specifications such as speed, type (DDR4 or DDR5), and timing to avoid instability or reduced performance.
For example, if your laptop currently has 8GB of DDR4-3200MHz RAM and you add another 8GB stick of the same specification, the system will recognize both as part of a single pool totaling 16GB. This allows programs like video editors, virtual machines, and large games to run faster and smoother.
Your computer uses RAM as temporary workspace for active tasks. When you open multiple browser tabs, run design software, or play high-end games, your system loads data into RAM for quick access. More RAM means more room for these operations.
When you install a new RAM module, the motherboard detects it during boot and integrates it into the system's memory pool. The operating system then manages access to all available memory, distributing it based on current workload.
If your system supports dual-channel memory (common in desktops), using two sticks of equal size and speed in specific slots maximizes bandwidth. For example, placing two 8GB DDR4-3200 modules in the correct slots (usually labeled A2 and B2 on the motherboard) enables dual-channel mode, which can improve performance by up to 10% in memory-intensive workloads.
RAM modules are printed circuit boards with integrated memory chips. They come in standardized sizes and shapes, making them compatible across most consumer-grade systems. The most common types today are DDR4 and DDR5, with DDR5 becoming standard in newer motherboards and CPUs.
Key specifications include:
Not all RAM is interchangeable. For example, DDR5 modules have different notch positions and voltage requirements than DDR4. Installing a DDR5 stick into a DDR4-only motherboard will fail to boot. Always verify compatibility before purchase.
Users add new RAM to existing RAM primarily to extend system capabilities without replacing the entire machine. This is common in:
For instance, a user running Adobe Premiere Pro on a 16GB system may experience lag when editing 4K footage. Upgrading to 32GB by adding a second 16GB DDR4-3200 module reduces rendering time and prevents crashes during export.
Another use case is extending the life of older hardware. A 2018 desktop with 8GB of RAM can often handle modern web browsing and office applications after upgrading to 16GB, delaying the need for a full system replacement.
Many people assume that adding RAM always improves performance. That's false. If your system already has sufficient RAM for your workload, extra memory provides no benefit. For example, a user running only Chrome, Word, and Spotify on a 16GB system won't notice a difference after upgrading to 32GB.
A frequent error is mixing incompatible RAM. Installing a 3200MHz stick with a 2400MHz one causes the system to run both at the slower speed (2400MHz), wasting potential performance. The motherboard defaults to the lowest common denominator.
Another mistake is violating dual-channel rules. On motherboards with four RAM slots, using only one stick in slot A1 limits bandwidth. To enable dual-channel mode, fill both channels (A1 and A2, or B1 and B2) with identical sticks. Using A1 and B1 may result in single-channel operation, reducing memory throughput.
Here's a real-world example: I upgraded my 2019 desktop from 16GB (two 8GB sticks) to 32GB by adding two more 8GB DDR4-3200 modules. I placed them in the correct slots (A2 and B2) and set the BIOS to XMP profile. The system booted correctly, and Windows reported 32GB total memory. Benchmark tests showed a 7% improvement in memory bandwidth under load.
| Upgrade Type | Compatibility Required | Performance Impact | Best For |
|---|---|---|---|
| Same-size identical sticks | Same type, speed, timings | Full dual-channel performance | Desktops, high-performance laptops |
| Mixed speed sticks | Same type, different speeds | Runs at slower speed | Emergency upgrade when no matching sticks available |
| Single new stick in empty slot | Same type, speed, timing | Single-channel mode; lower bandwidth | Quick fix for low-memory systems |
| Non-matching type (e.g., DDR4 + DDR5) | None - incompatible | System fails to boot | Never attempt |
Even with two sticks of the same model, dual-channel mode doesn't activate unless the motherboard recognizes both sticks as part of a matched pair. Some motherboards require enabling "Dual Channel" in BIOS settings. Others auto-detect and configure it.
More critically, the physical placement matters. Many motherboards label slots A1, A2, B1, B2. To enable dual-channel, you must install matching sticks in corresponding slots: A1 and A2, or B1 and B2. Placing them in A1 and B1 disables dual-channel and reduces effective bandwidth by ~30% in memory-heavy tasks.
According to Intel's official documentation on memory configuration, incorrect slot usage is a leading cause of suboptimal performance in DIY builds. Always consult your motherboard manual before installing RAM.
Before adding new RAM, check your system's maximum supported capacity and the number of available slots. You can find this in your motherboard's datasheet or using tools like CPU-Z.
Use the manufacturer's RAM compatibility list (QVL) to ensure your new stick is approved. For example, ASUS maintains a QVL for each motherboard model, listing tested and verified RAM kits. Using unlisted RAM increases the risk of instability.
After installation, enter the BIOS and verify that the system detects the full amount of RAM and runs at the intended speed. If the system fails to boot, remove the new stick and test the original configuration first.