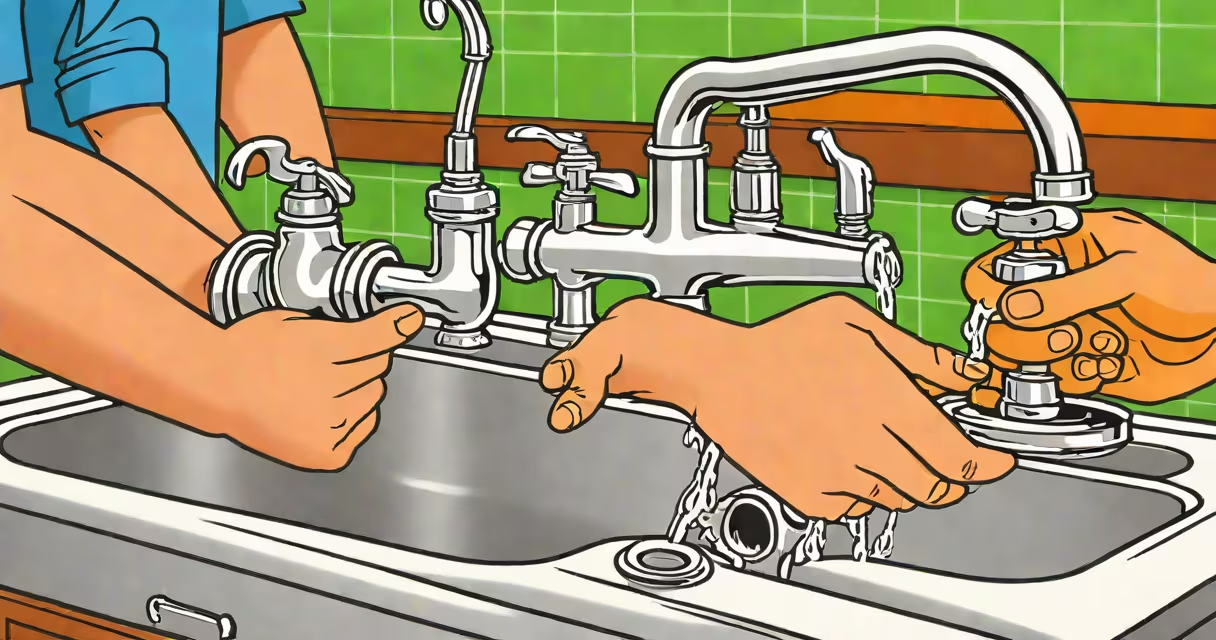
A leaky kitchen faucet results from worn internal components like O-rings, cartridges, or washers. Replacing these parts stops drips and restores function. Most repairs take 30-60 minutes with basic tools.
Leakage occurs when water escapes through seals or valves inside the faucet body. The most common cause is a degraded rubber washer or O-ring that no longer forms a tight seal. Over time, mineral buildup, hard water, or frequent use wear down these parts. A single drip per second wastes about 1,500 gallons annually-enough to fill a bathtub every few days.
Most kitchen faucets use either compression, ball, cartridge, or ceramic disk mechanisms. Compression faucets-common in older homes-use a rubber washer pressed against a valve seat. When the washer wears out, water leaks when the handle is off. Ball and cartridge models rely on precision-machined parts that degrade with sediment. Ceramic disk systems use two ceramic discs that slide apart under pressure; they're less prone to leakage but can fail if cracked.
Start with a shutoff valve. Turn it clockwise until it clicks. Open the faucet to drain residual water. If no shutoff exists, turn off the main water supply. Use a basin wrench for tight spaces under the sink. A flathead screwdriver removes the handle cap. A hex key or adjustable wrench loosens the retaining nut.
Buy a faucet repair kit tailored to your model. Generic kits include O-rings, washers, and a cartridge. For a compression faucet, replace the rubber washer and O-ring. For a cartridge model, remove the cartridge and install a new one. Match the part number to your faucet brand-Moen, Delta, or Kraus-using the manufacturer's website or a hardware store's lookup tool.
Always shut off water before beginning. Test the repair by turning the water back on slowly. Check for leaks around the base and spout. If the drip returns within 10 minutes, disassemble and inspect for debris or misalignment. A small piece of grit can prevent a washer from sealing properly.
One error is assuming all faucet handles require the same removal method. Some have a hidden set screw under a decorative cap. Removing the cap with a flathead screwdriver reveals the screw. Loosen it with a hex key. For others, the handle lifts straight off after removing the cap.
Another mistake is replacing only the washer without checking the valve seat. A corroded or pitted seat prevents proper sealing even with a new washer. Clean it with a brass brush or fine sandpaper (600 grit). Wipe with a lint-free cloth. If the seat is deeply scored, replace the entire cartridge or faucet body.
Some users assume a leaking faucet always needs a full replacement. Not true. According to the Plumbing-Heating-Cooling Contractors Association (PHCC), 80% of faucet leaks are resolved by replacing internal parts. Replacing the entire fixture costs $50-$200 more than a $10 repair kit.
I replaced the cartridge in a Moen 1225 faucet that dripped continuously. The handle had a "Moen" logo cap. I removed it with a flathead screwdriver. Underneath was a 5/16-inch Allen bolt. I loosened it with a 1/4-inch hex key. The handle lifted off.
Next, I unscrewed the retaining nut with a basin wrench. The cartridge came out easily. I matched the old cartridge to the new one using the model number on the packaging. Installed the new cartridge, tightened the nut, reattached the handle, and turned the water back on.
After five minutes, no drip. The faucet worked smoothly. Total time: 42 minutes. Cost: $12.99 for the cartridge and O-rings.
| Faucet Type | Common Leak Point | Replacement Part | Time to Repair |
|---|---|---|---|
| Compression | Washer at valve seat | Rubber washer, O-ring | 30-45 min |
| Ball (e.g., Delta) | Rotating ball seal | Cartridge assembly | 45-60 min |
| Cartridge (e.g., Moen) | Internal cartridge | Full cartridge | 35-50 min |
| Ceramic Disk | Disk or seal failure | Entire cartridge | 40-60 min |
Don't confuse a dripping faucet with a loose handle. A wobbly handle usually indicates a stripped set screw or damaged stem. Tighten the set screw with a hex key. If the stem turns freely, replace the stem or the entire faucet body.
Another misconception: hard water causes all leaks. While scale buildup can clog passages, it doesn't directly cause leaks. But it accelerates wear on rubber parts. Flush the faucet with vinegar monthly to reduce mineral deposits. Soak the cartridge in vinegar for 30 minutes before reinstalling.
For persistent leaks, check the supply lines. A kinked or brittle line can cause pressure fluctuations that stress seals. Replace lines every 5 years. Use braided stainless steel lines instead of plastic ones-they last longer and resist cracking.
When in doubt, consult the manufacturer's service manual. Moen and Delta offer free downloadable guides with diagrams and torque specifications. For example, Moen specifies 15-20 ft-lbs of torque for the cartridge nut. Over-tightening damages threads or cracks the housing.
After fixing the faucet, run water for 30 seconds to flush debris. Inspect the base and under-sink area for wet spots. If the leak persists, disassemble again and check for hairline cracks in the valve body. These are rare but require a full replacement.